Showing posts with label finished. Show all posts

Sunday, June 29, 2014

wearing patchwork makes me happy!

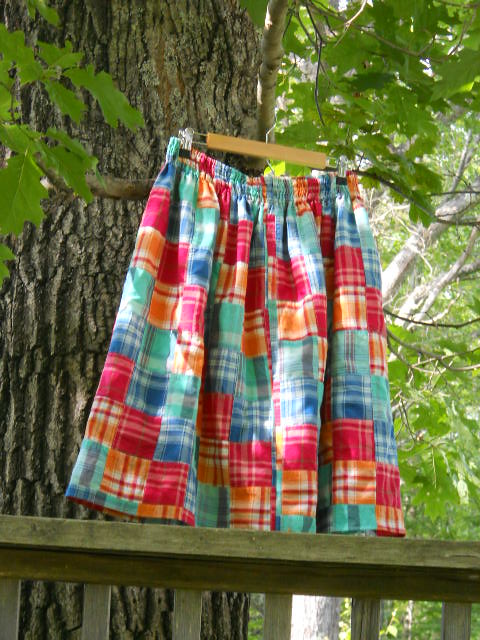
patchwork quilt skirt

After procrastinating finishing the hem for so long it's silly, my patchwork skirt is now done! :)


skirt in tree

is hanging a skirt in a tree sillier than picnicing pillows?  I think perhaps it is.  and you know what?  I like taking silly pictures :)

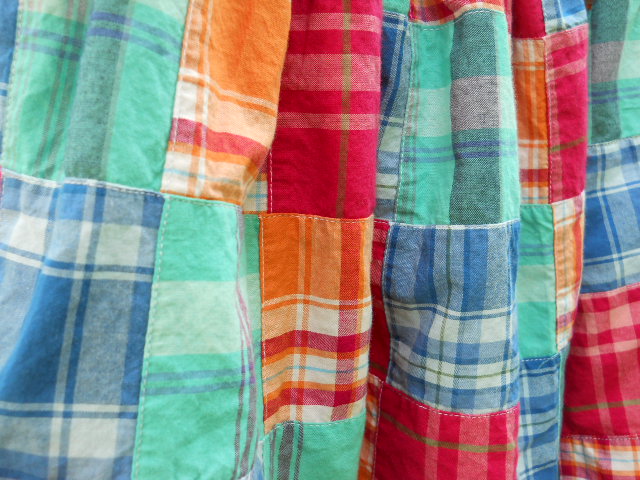
patchwork plaid

I bought the fabric from Joanns probably three years ago, it was a pre-made patchwork so making my skirt was actually very simple.  The pattern was Flirting the Issue by AMH.  Another yard and a half out of my stash! :)

linking up to Quilt Story, show and tell tuesday
stitch by stitch

Friday, June 27, 2014

Let's play pretend!

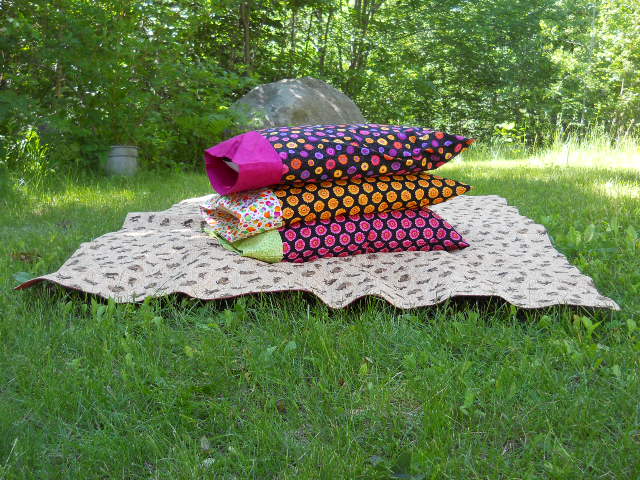
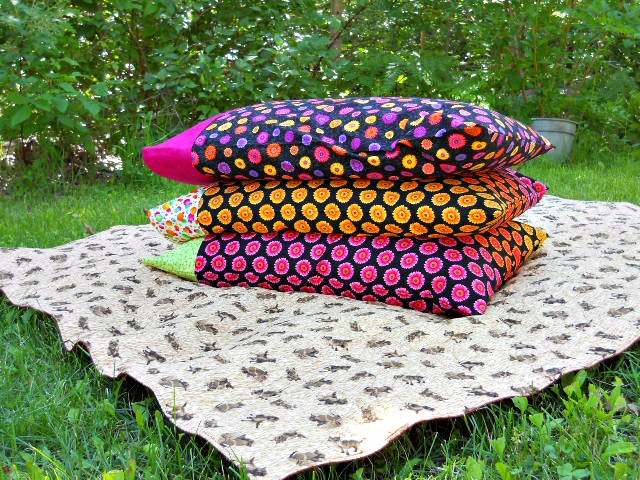
let's pretend that pillows picnicking in the back yard is a normal thing, ok?


backyard pillow picnic

why are my pillows picnining in the backyard with new pillowcases on you ask?


pillowcase picnic

because the lighting is better outside, of course  :)


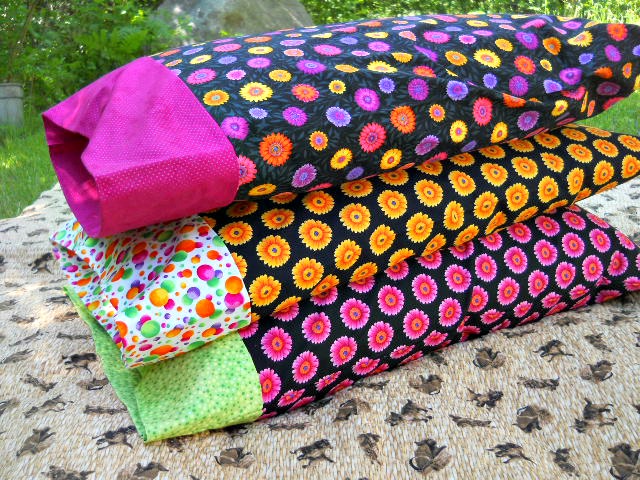
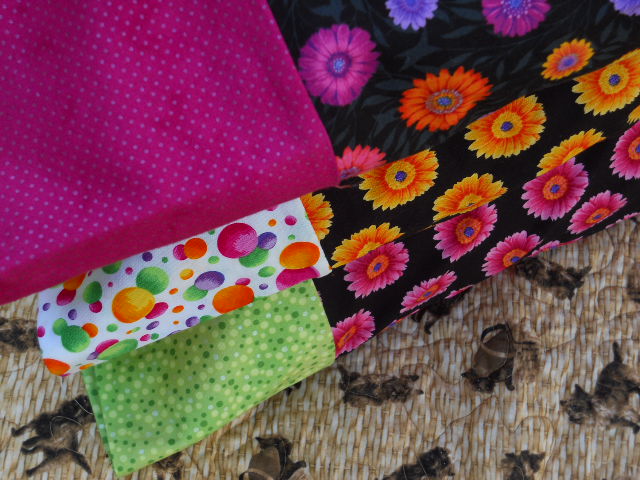
pillowcase threesome

of all the silly things I've done to get decent lighting in photos, this feels like the silliest.

what about you?  what odd or silly things have you done for blog photos?

pillowcase stack

these three pillowcases, plus one other I made awhile ago, make four {aren't I good at math?}  to be donated to charity.  Now I just need to find a place to donate them to :)

linking up to TGIFF, submarine sunday, Quilt Story, show and tell tuesday


Fort Worth Fabric Studio Blog

stitch by stitch

Friday, June 20, 2014

Friday Sashiko Finish

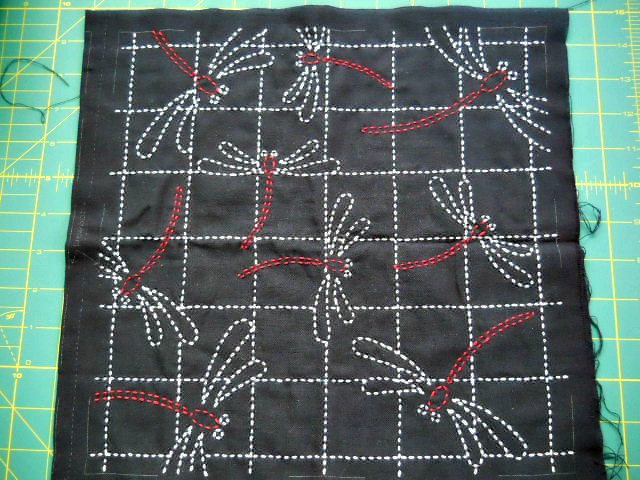
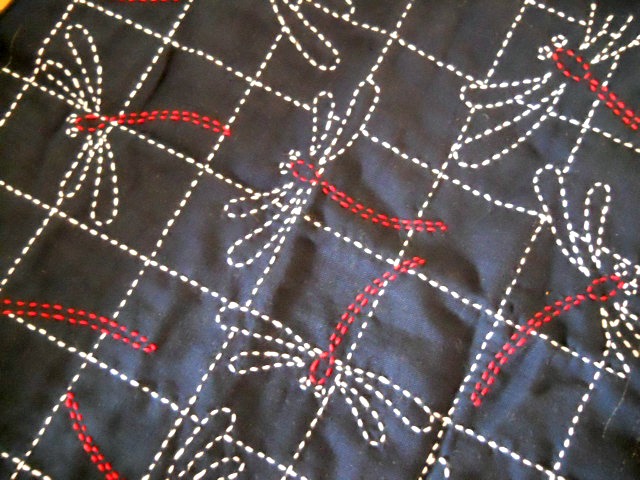
dragonfly sashiko, fixed

I finished stitching my dragonfly sashiko,


dragonfly sashiko 2, fixed

now I need to make it up into a finished something-or-other.  probably a pillow :)

I'm linking up to Crazy Mom Quilts and show and tell tuesday


stitch by stitch

Sunday, June 1, 2014

suit coat upcycled to General's uniform

Recently, my three boys participated in a Living Timeline for school.  They each chose a historical figure, dressed as that person, and gave a short speech about their life.  18 kids or so were in the living timeline.  Oldest to youngest, my boys were Thomas Edison, Harry Houdini, and General Stonewall Jackson.

Since Edison and Houdini mostly wore dark suits, those costumes were easily taken care of.


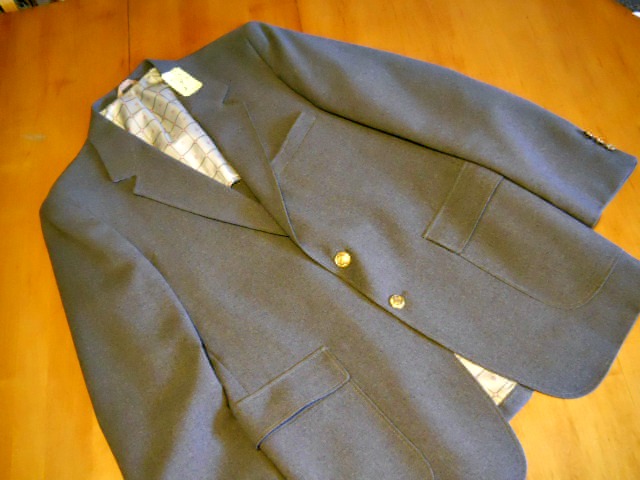
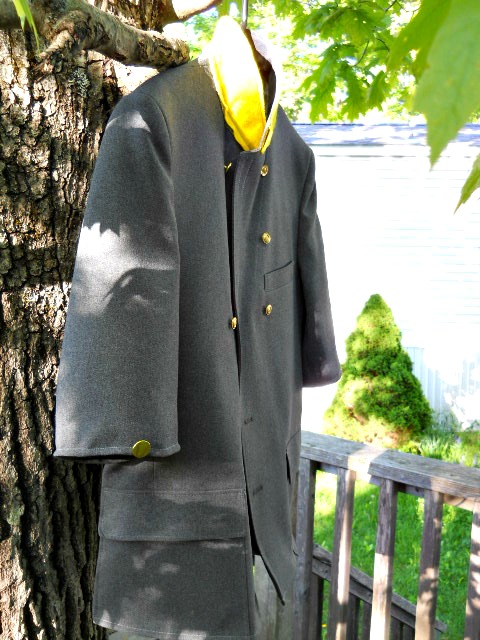
thrifted coat

For the General's uniform, I thrifted a grey men's suit coat to upcycle.  I shortened the sleeves and body.  The coat had gold buttons on it to begin with, so I removed them and saved them to use later.


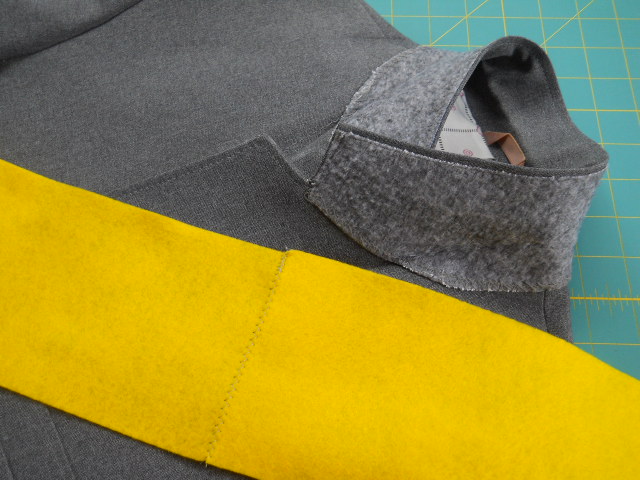
yellow felt for a general's colar

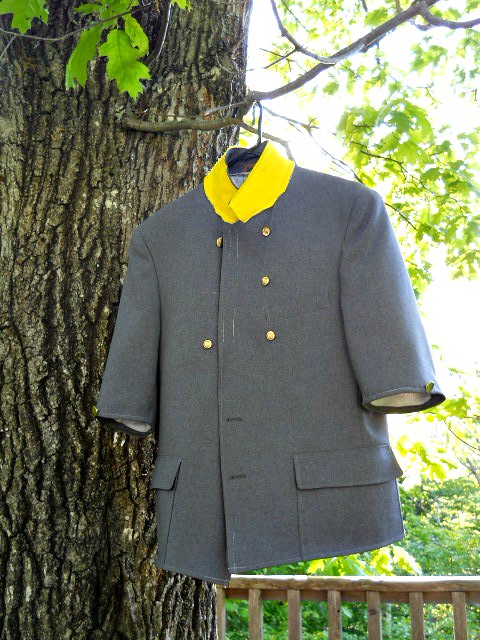
I cut an 8 1/2" x 11" piece of craft felt in half and sew the pieces end to end.  Then I sewed the yellow felt to the underside of the up-turned color.  Once I rearranged the gold buttons the coat looked like this:


stonewall jackson coat

Four of the buttons fell off during rehearsal, so I sewed on replacements, and another fell off during the performance.  I guess I need more work on my button sewing technique :)


stonewall coat two

I loved this opportunity to sew for one of my sons  :)

However, this project has made it painfully obvious that outside of piecing a quilt, my sewing skills are all but nonexistent.  I would like to change that, so I can sew more things for my family.  Perhaps even conquer my fear of sewing clothing  :)

stitch by stitch
Fresh Poppy Design

Sew Fresh Quilts

Tuesday, April 8, 2014

baby boy quilt


there has been a little deviation from the WIP list around here lately :)


This little quilt was made with one FQ for the center {all I did was remove the selvedge and square up the sides} and bordered with another FQ.  I was able to get all the binding I needed from a third FQ, and then I needed a bit more than a FQ for the backing.

I am rounding it off to 1 yard of stash used for my tally {which will make it to my sidebar one of these days}

As you can see, the quilting is nothing fancy.


backed with a nice shade of blue.


this quilt measures 26" x 22", and will be donated to Maine Medical Center's pediatric ICU via Knight's Quilt Shoppe
Linking up to Show & Tell Tuesday.
Fresh Poppy Design

April Finishes

Friday, March 28, 2014

proof of life


My Madrona Road quilt is quilted, bound, washed & crinkled - and I love it!

but this one photo is all you get today, just enough to prove I finished it :)

I botched my best chance at a decent photo shoot for this quilt {left my camera at home} so I'm just posting this one photo so I can do a little link-partying while I wait for the rain to stop over here.

have a great weekend!
Finish Along 2014

original FAL list {here}

Friday, March 21, 2014

star quilt finish


I can't believe I nearly forgot to share this quilt with you, because I love it so much!  It was actually done two weeks ago.


these fabrics had been sitting in my stash for a long time, and they are just too pretty for that.  It makes me so happy that they have been turned into a quilt for snuggling!


after washing and drying, this quilt is super soft!  I'm not sure if it is because of the less dense quilting than my normal, but I love the feel of it!  so much so, I'm almost sad to give it away, {here}.


a shot of the back :)


once again, Son #1 did a great job as quilt holder :)
I made the star 44" square, but it needed some added length to make it the size the hospital wants, so I added a piano key boarder to the top and bottom.
this makes approx. another 6 1/2 yards of stash used! :)

linking up to Show & Tell Tuesday &


Fresh Poppy Design
Sew Cute Tuesday
Finish Along 2014

original FAL list {here}

Thursday, March 13, 2014

the missing quilt

hey, guess what I learned this week?

it is really hard to keep your quilt blog updated if you loose your camera and can't share any new pictures.  yeah, so I thought I'd take a break from tearing this place apart looking for it and share some old photos.


last October-ish I finished a quilt which never got an appearance on the blog, not even any WIP photos.  I used the fabrics you see above, and this star tutorial by In Color Order, and made a quilt to donate to our church's youth group funraiser.


I backed it with a pink floral vintage sheet.  you'll need to use your imagination, because these are the only two photos I could find of this quilt.

It really looked like I was going to run out of time to finish, but I had made a commitment to donate a quilt even if it was only to myself, so I stayed up until 4:15 am hand stitching the binding and tossed it in the wash.

After a quick nap, I dashed out the door and delivered the quilt on time, but I didn't have time for photos.  oh well, I'm told the quilt has found a loving home with it's new owner, and it raised a good amount of money for the youth group, and that is what matters most.  although I do wish I had a good picture.

now, back to looking for that camera....

Friday, February 14, 2014

a swearing baby blanket

our town has a Winter Carnival each year with lots of fun things for families to do.  and each year, they hold a silent auction to raise money for the recreation dept. to support events like this.  so, naturally I decided it would be no problem to whip up a baby quilt in all my spare time {hahahahaaaaaaa}


I had half a truck panel and two cuts of coordinating prints in my stash that my my SIL gave me years ago - they were scraps she didn't want to hang on to.


I'm not a big fan of panels, because they rarely seem to be printed on the grain, causing issues when trying to square up the fabric.  This one wasn't too bad, though.  I added the yellow and red borders, and backed it in Minkee {the same as Phil's fur}

you're wondering where the swearing comes in, aren't you? ;)


Oh, that nasty binding!  even though I've never used it before, I decided that it would be easiest to use pre-made satin blanket binding.  the first package I bought had a stain on it that was only visible after the first two feet of binding had been sewn to the blanket.   grrrrrrr.

I had a ridiculously hard time figuring out how to miter the corners.  after a google search, I sorta kinda fudged the miters, but let me tell you there was a lot of swearing going on at that point!


the blankie finished at approx 36" x 38", with all fabrics coming from my stash.

this year I am going to concentrate on finishing WIPs and using up stash, so I decided it would be fun to keep track of how much yardage I use this year.  perhaps I will keep a running tally in my sidebar - still deciding just how to go about it.  so to get started, I am estimating I used a yard of fabric for the top, and I was able to make the backing & Phil out of one yard of Minkee.  That makes 2 yards used from stash :)

{not that I'm promising to abstain from fabric buying or starting new projects - I plan to do plenty of that, too}  :)

I'm linking up to Crazy Mom Quilts, show and tell Tuesday

Friday, November 15, 2013

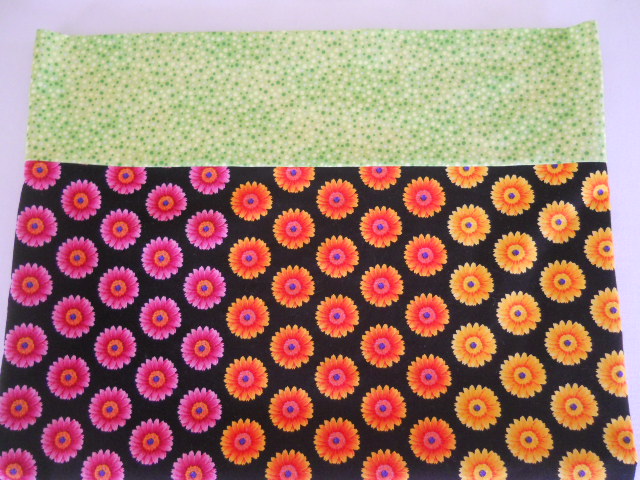
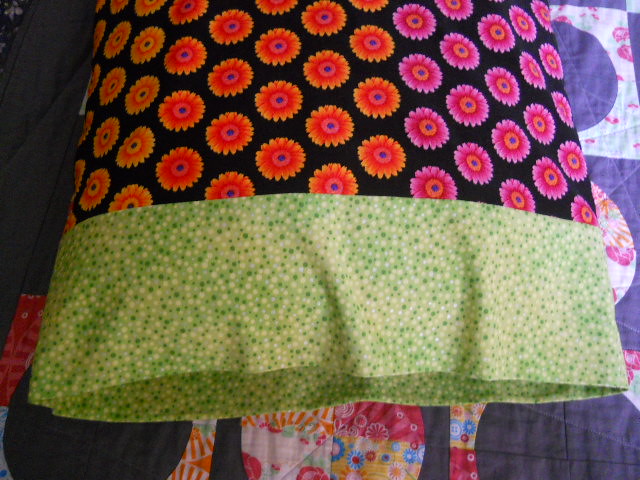
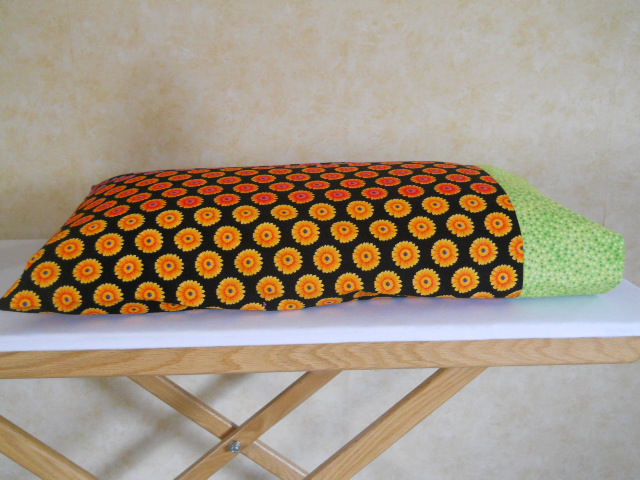
it isn't easy to get an interesting picture of a pillowcase...

there is more to say about this project, but it will have to wait for another day.  for now, my Friday finish is this pillowcase :)
flat pillowcase

flower pillowcase, pose 1

flower pillowcase, pose 2

linking up to Crazy Mom Quilts
Friday, November 8, 2013

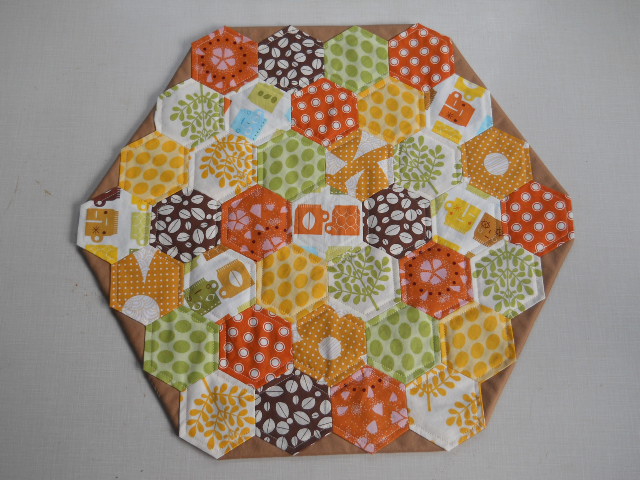
Hexies on my table

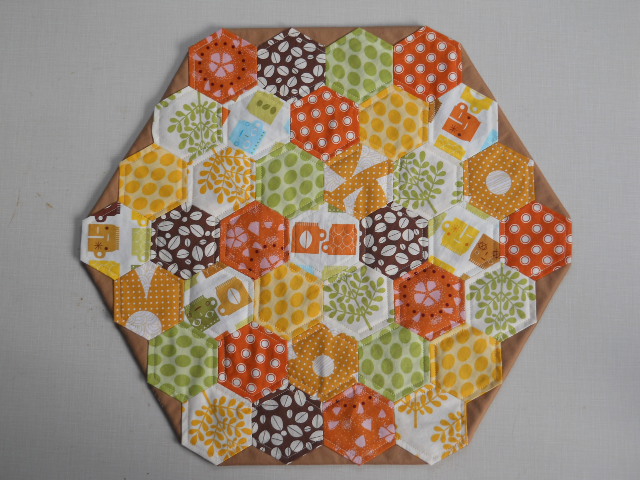
EPP hexie table topper

Hey, everybody!  I finished my EPP Hexies!

Hmmm, but what IS it, you say?

My new table topper, of course!  :)  
When I take the middle sections out of my kitchen table, it is a circle.  I think this new hexie shaped table topper will work great with the round table.

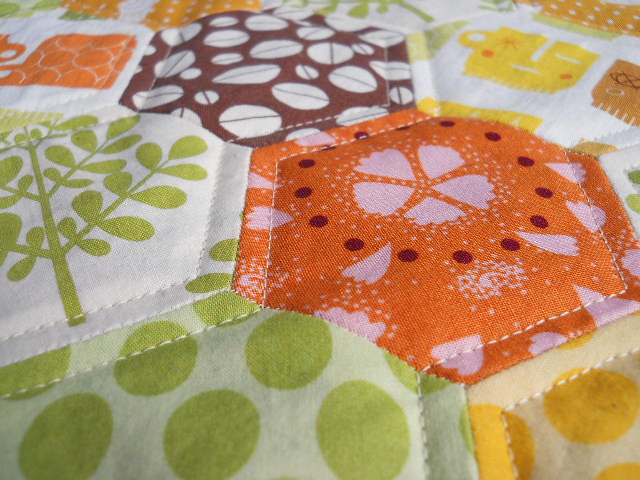
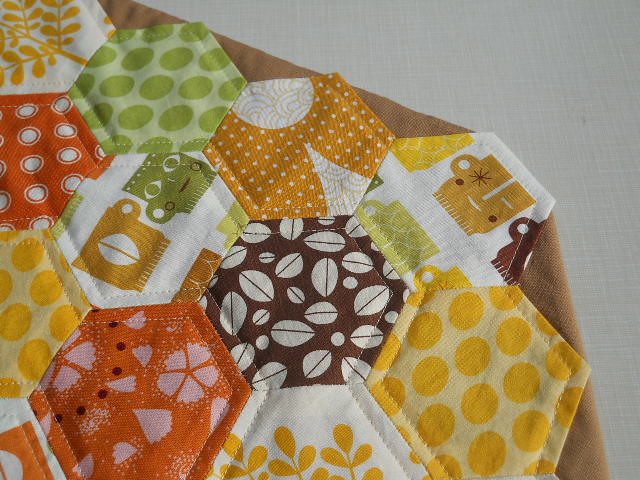
corner of hexie table topper

Once all my EPP hexies were sewn together, I wasn't sure how to finish them off into a useable object.  Finally, I decided to applique the hexies onto this piece of Kona in a forgotten color.  I didn't want to bind, so I layered batting, then more Kona for the backing, and then the upside down top.  Stitch around the edge, leave a turning opening, turn, and hey-presto!  no need to bind :)

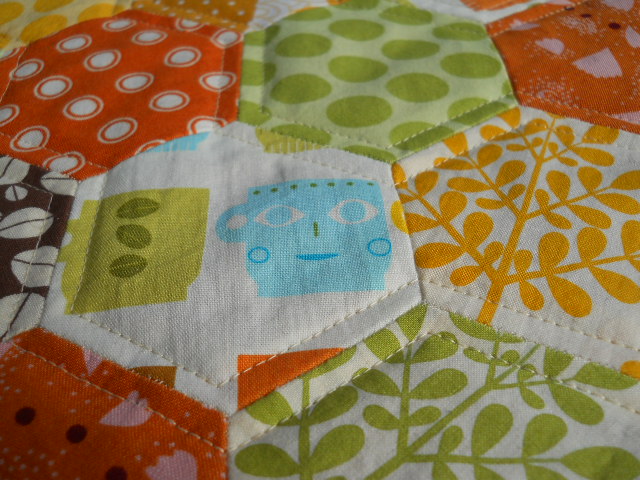
quilting on epp hexies

detail, quilting over hexies

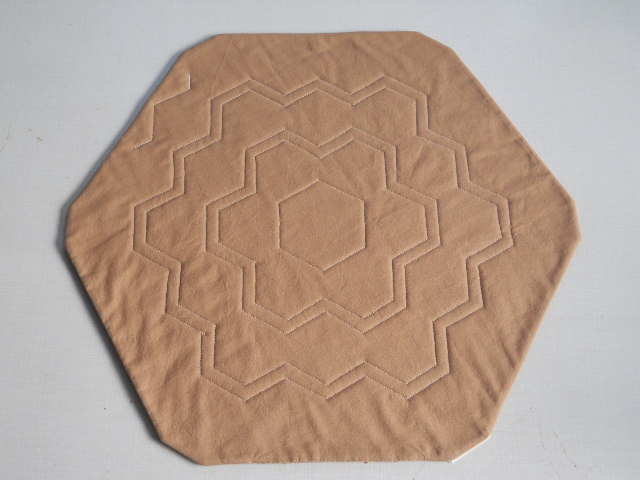
I quilted hexie rings radiating out from the center, and I love how the back looks:

hexie table topper back

Do you see that little bit of a stitching line in the upper left hand corner?  When I removed all the basting stitches and papers from the hexies, I accidentally left one paper in and didn't notice until it was appliqued down and the layers were sewn together, so I had to rip up the stitches and sew it back down again.

hexie table topper

If you want to read earlier posts about my hexies, click here or here or here :)
Getting this WIP done makes me feel like I'm making real progress on my WIP list {ha! there are plenty more where this came from!}

I'm linking up to Crazy Mom quilts, You Flew Tuesday, TGIFF, Quilt Story, Show and Tell Tuesday